[ Do not try to login once your time is completed, if you try to access lab after your time, 100 credits will be deducted from your account without any prior notice / explanation ]
Prerequisite
Download EVE-NG Client Pack (Putty & VNC will not work if not downloaded)
Windows : https://www.eve-ng.net/index.php/download/#DL-WIN
MAC : https://www.eve-ng.net/index.php/download/#DL-OSX
Linux : https://www.eve-ng.net/index.php/download/#DL-LIN
Read All Question First and Map it with topology.
- Do not Power ON all devices follow the procedure as per this guide. If LAB responses get slow or LAB get corrupt then your WHOLE session get Terminated. Because LAB node IMAGES are very heavy in LAB v6.1 .
- Make sure ASA1-2 are in Multi Mode and ASA3-4 in Single Mode.
- All devices and switches console connection is up and running specially ISE, DNAC, FireAMP, ASA & Stealth watch. ( check as per Section)
- Make Following changes and verification on ISE in starting as it will take around 20-30 minutes.
- Ping all next hops IP’s.
- Check EIGRP & OSPF neighborship on routers/switches wherever configured.
- All ASA’s are blank, you’ve to start from scratch.
- In Exam cisco used cisco.com as a domain name, but in clc lab it is clc.local
- Accessing WSA, use MS Edge .
- Access other URL, use MS Edge installed on Management PC
- All router’s interfaces you’ll have to no shutdown.
- Wipe the device & start as per Section required.
CLC recommended to complete Section2 first & then start Section1, as Section1 is completely depend on connectivity, which depends on Section2.

STEP 1:
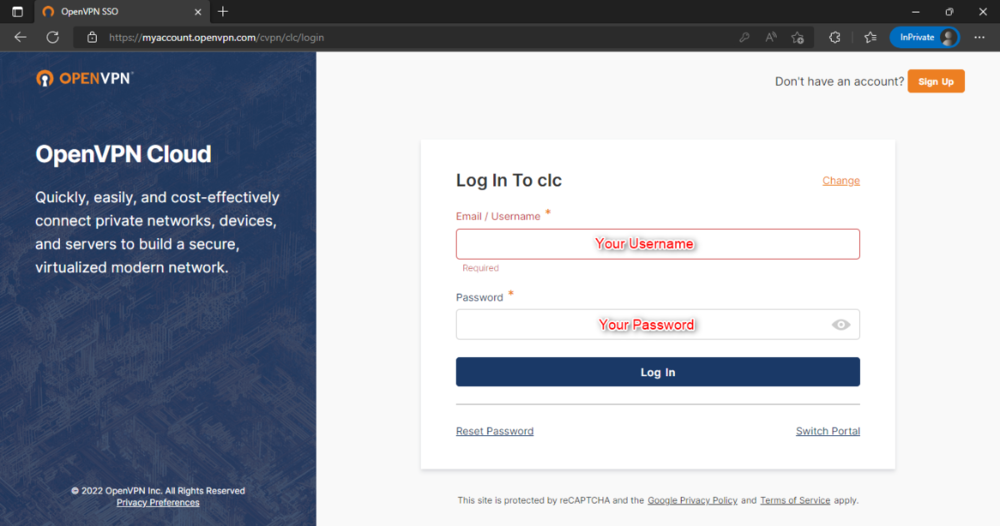
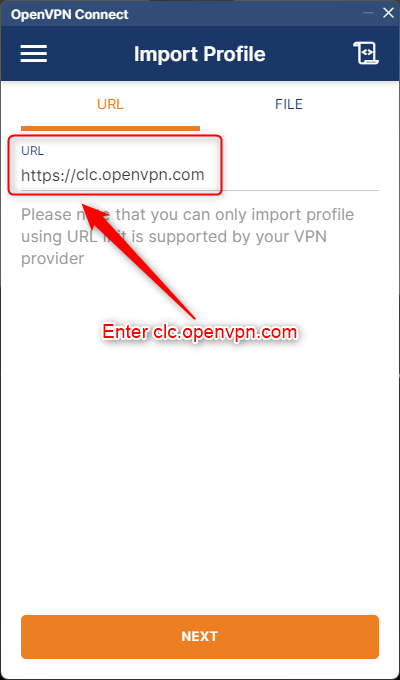
1. Go to the browser and enter https://clc.openvpn.com (use in incognito mode)
2. Download the suitable VPN Client
3. Once Downloading is done, Install the VPN Client
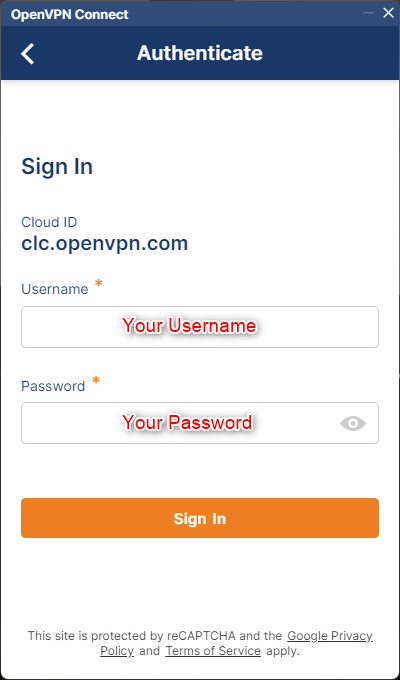
4. Enter your username & password
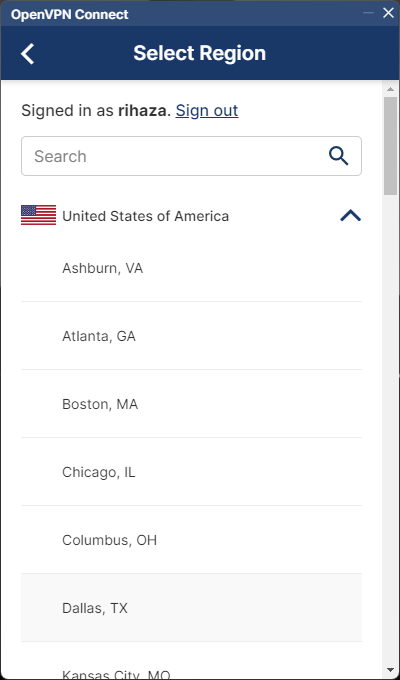
5. After login select the nearest location your country
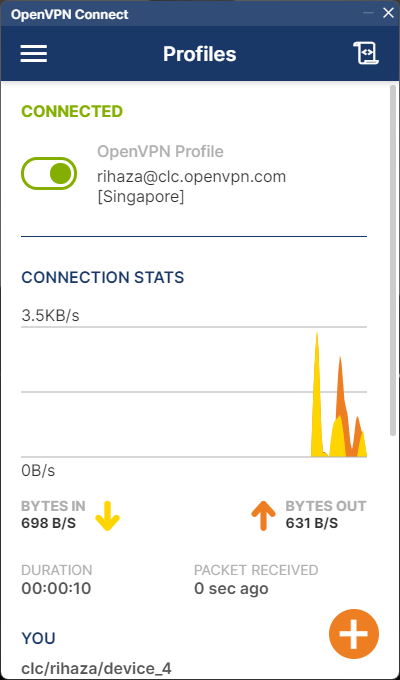
6. After performing all steps, you will see below screen, and after that you will be able to access our Racks.
STEP 2:
|
IP ADDRESS AND CREDENTIALS TO ACCESS OUR RACK |
|||
|
DOMAIN |
SYSTEM |
DNS NAME |
LOGIN DETAILS |
|
SEC R1 |
EVE |
admin / eve |
|
|
DNAC |
clc / Cisc0!@# |
|
SEC R2 |
EVE |
admin / eve |
|
|
DNAC |
clc / Cisc0!@# |
|
SEC R3 |
EVE |
admin / eve |
|
|
DNAC |
clc / Cisc0!@# |
|
SEC R4 |
EVE |
coming soon |
admin / eve |
|
DNAC |
coming soon |
clc / Cisc0!@# |
DNAC REVERT
|
DNAC REVERT |
SEC R1 DNAC |
clc / Crach?03t$&w_uTh |
|
|
SEC R2 DNAC |
|
DNAC REVERT |
SEC R3 DNAC |
https://secr3.dnac.clc.local |
clc / Crach?03t$&w_uTh |
|
SEC R4 DNAC |
coming soon |
STEP 3:
Steps for reverting Eve-ng Lab
1. Login the Eve-ng Lab with Cred
2. After Login Click on -> More Action -> Wipe all Nodes (WAIT TILL ALL DEVICES GET SHUTDOWN)
Start devices as per section (DO NOT START ALL DEVICES)
3. If any device is not coming up on console, so please wipe that device again.
Verify all devices are come up on console.
1. GUI Devices
- ISE
- FMC NGIPS
- IPS
- WSA
- ESA
- FireAMP Cloud
- FMC FTD
- FTD1 & 2
- SMC
- FC
- NGIPS
2. All Router & Switches.
3. Windows Systems
- AD-DNS
- Management PC
- Sales PC
- Finance PC
- Marketing PC
- Engineering PC
- TAC PC
- QA PC
- Contractor PC
NOTE : All Routers interfaces you’ll have to no shut might be they will be in shutdown
STEP 4:
Steps for reverting Cisco DNAC
1. Login the ESXi Host with Cred
2. Select DNAC VM -> Action -> Snapshots -> Manage Snapshots
3. Click on Initial -> Restore Snapshot (it will get power off)
4. Close it then power on DNAC VM (Verify as per below Diagram )
NOTE: DNAC takes 30 minutes to come up after reverting.
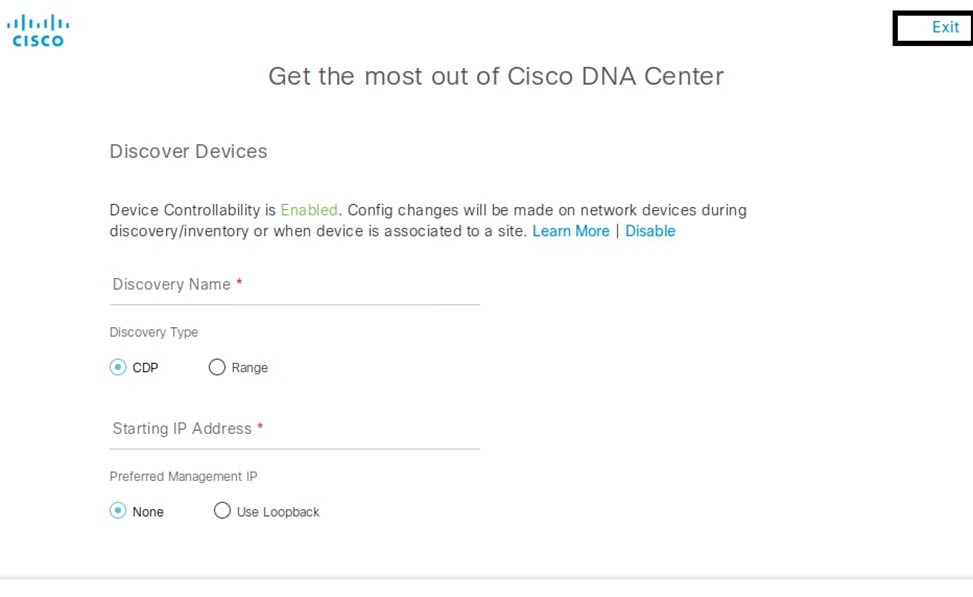
After Login to DNAC if it ask for setup do exit the one time setup as it is already done.


Device Login details
|
S/N |
Device |
User |
password |
Device |
AD UserID |
Pass |
|
1 |
R1 |
clc |
clc |
Router |
contractoruser1 |
Cisc0123 |
|
2 |
R2 |
clc |
clc |
engineeringuser1 |
||
|
3 |
R3 |
clc |
clc |
financeuser1 |
||
|
4 |
R4 |
clc |
clc |
marketinguser1 |
||
|
5 |
R5 |
clc |
clc |
qauser1 |
||
|
6 |
R6 |
clc |
clc |
salesuser1 |
||
|
7 |
R7 |
clc |
clc |
tacuser1 |
||
|
8 |
R8 |
clc |
clc |
Administrator(AD Login) |
Cisc0!@# |
|
|
9 |
R9 |
clc |
clc |
|||
|
10 |
R10 |
clc |
clc |
|||
|
11 |
R11 |
clc |
clc |
|||
|
12 |
R12 |
clc |
clc |
|||
|
13 |
R13 |
clc |
clc |
|||
|
14 |
R14 |
clc |
clc |
|||
|
15 |
R15 |
clc |
clc |
|||
|
16 |
R16 |
clc |
clc |
|||
|
17 |
SW1 |
clc |
clc |
Switches |
||
|
18 |
SW2 |
clc |
clc |
|||
|
19 |
SW3 |
clc |
clc |
|||
|
20 |
SW4 |
clc |
clc |
|||
|
21 |
SW5 |
clc |
clc |
|||
|
22 |
SW6 |
clc |
clc |
|||
|
23 |
SW7 |
clc |
clc |
|||
|
24 |
SW1-P |
clc |
clc/cisco |
|||
|
25 |
SW2-P |
clc |
clc/cisco |
|||
|
26 |
All ASA |
You've to configure from Scratch, you've to keep username cisco & pass cisco |
||||
|
SSH & GUI password are same (all these devices open from Management PC |
Remark |
|||||
|
S/N |
Device |
user |
password |
IP |
URL |
|
|
1 |
ISE |
admin |
Cisc0!@# |
150.1.7.111 |
MS Edge |
|
|
2 |
WSA |
admin |
Cisc0!@# |
150.1.7.213 |
Microsoft IE |
|
|
3 |
ESA |
admin |
Cisc0!@# |
150.1.7.219 |
MS Edge |
|
|
4 |
FMC NGIPS |
admin |
Cisc0!@# |
150.1.7.251 |
MS Edge |
|
|
5 |
NGIPS |
admin |
Cisc0!@# |
150.1.7.252 |
NA |
MS Edge |
|
6 |
FMC FTD |
admin |
Cisc0!@# |
161.1.7.15 |
MS Edge |
|
|
7 |
FTD1 |
admin |
Cisc0!@# |
161.1.7.16 |
NA |
MS Edge |
|
8 |
FTD2 |
admin |
Cisc0!@# |
161.1.7.18 |
NA |
MS Edge |
|
9 |
SMC |
admin |
Cisc0!@# |
161.1.7.22 |
MS Edge |
|
|
10 |
FC |
admin |
Cisc0!@# |
161.1.7.23 |
MS Edge |
|
|
11 |
FireAMP admin |
NA |
Cisc0!@# |
150.1.7.216 |
MS Edge |
|
|
12 |
FireAMP Console |
Cisc0!@# |
150.1.7.217 |
MS Edge |
||
|
13 |
DNAC |
clc |
Cisc0!@# |
172.20.54.220 |
Open in GCP Server |
in Exam 150.1.7.115 |
|
14 |
Kali Attacker |
clc |
Cisc0!@# |
150.1.7.226 |
NA |
in Exam open from Mgmgt-PC with Mputty |





Recommended Comments